Stallion Testing
React Native Stallion Testing - Easy distribution of builds to internal team and QA. Test OTA updates in under 60 seconds without rebuilding.
Stallion Testing
Why Stallion Testing?
Introducing Stallion Testing – a product to slash dev-qa turnaround time! Instead of rebuilding for every little JS tweak (which eats up compute time and resources), you can now simply update your JS, deploy the bundle, and voilà – QA (or anyone in the org) can test it in under a minute! Yup, you read that right – less than 60 seconds from code change to live magic 🚀. How crazy is that?! 🤯
Integrate Stallion Modal in your app
Prerequisite:
Before continuing, please verify that both the SDK and CLI are installed. If they aren’t, consult SDK Installation Guide and CLI Installation Guide.
We need to integrate Stallion Modal in the app that gives a UI to manage and download your testing releases.
Add a custom entry point to Stallion Modal UI
Choose any custom entry point in your app. Import useStallionModal hook
Trigger showModal from your custom component.
Tip:
The Stallion SDK entry point is determined by you and is intended only for internal users. Each app can hide this entry point behind more complex UI elements or a feature flag.
   import { useStallionModal } from "react-native-stallion";

   //This is an example, you can call setShowModal from any custom component
   const MyCustomPageComponent: React.FC = () => {
       const { showModal } = useStallionModal();
       return (
           <>
               // Other page level components
               <Button title="Open Stallion" onPress={showModal} />
           </>
       );
   };
- Finally

Stallion SDK modal should open by using the custom entry point from above step. All your builds should be available in a list to download and install.
Setup SDK Security Pin
You can see that when the modal opens, it asks for a security pin. This secuity pin is in place to avoid un authorized acces to your testing sdks. To generate a new pin follow the following steps:
-
Sign in to the Stallion Console and navigate to project settings
-
Click on the "Access Tokens" and Set your desired pin

*Make sure to regularly change the pin
-
Open the Stallion modal in your app and enter the pin.
Send your first release through Stallion CLI
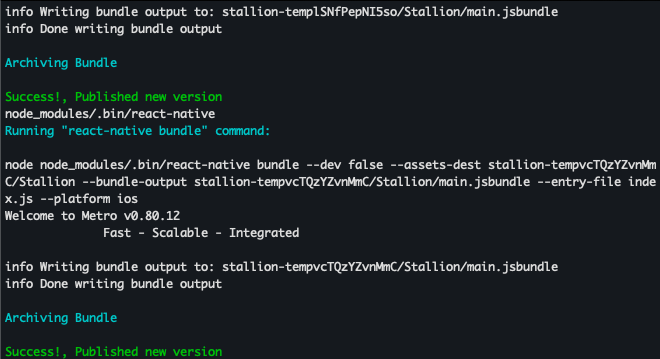
Publish your first release using Stallion CLI. Run the Publish Bundle command. The command should complete like the screenshot below -
Verify the newly published bundle inside the Console
Navigate to your bucket in the Stallion Console to confirm the published bundle. It should appear in the UI, where you can review its details and release notes.
Install the bundle inside your app
Prerequisite:
After installing Stallion, create app build (APK or TestFlight) with Stallion integrated to test OTA updates. Note: OTA changes won’t apply in dev mode via Metro bundler — use a published app build to verify.
You can now install the published bundle in any released app where Stallion is installed. In the Stallion SDK, navigate to the Testing tab to view all available buckets. Select the desired bucket and download the appropriate bundle. After the download completes, restart the app to install the newly downloaded build.
Note:
Stallion lets you seamlessly switch between different versions of your app without ever modifying the native build. Simply use the Stallion SDK—running right inside your app—to toggle between builds on the fly. This accelerates development and testing cycles, boosting overall efficiency.